
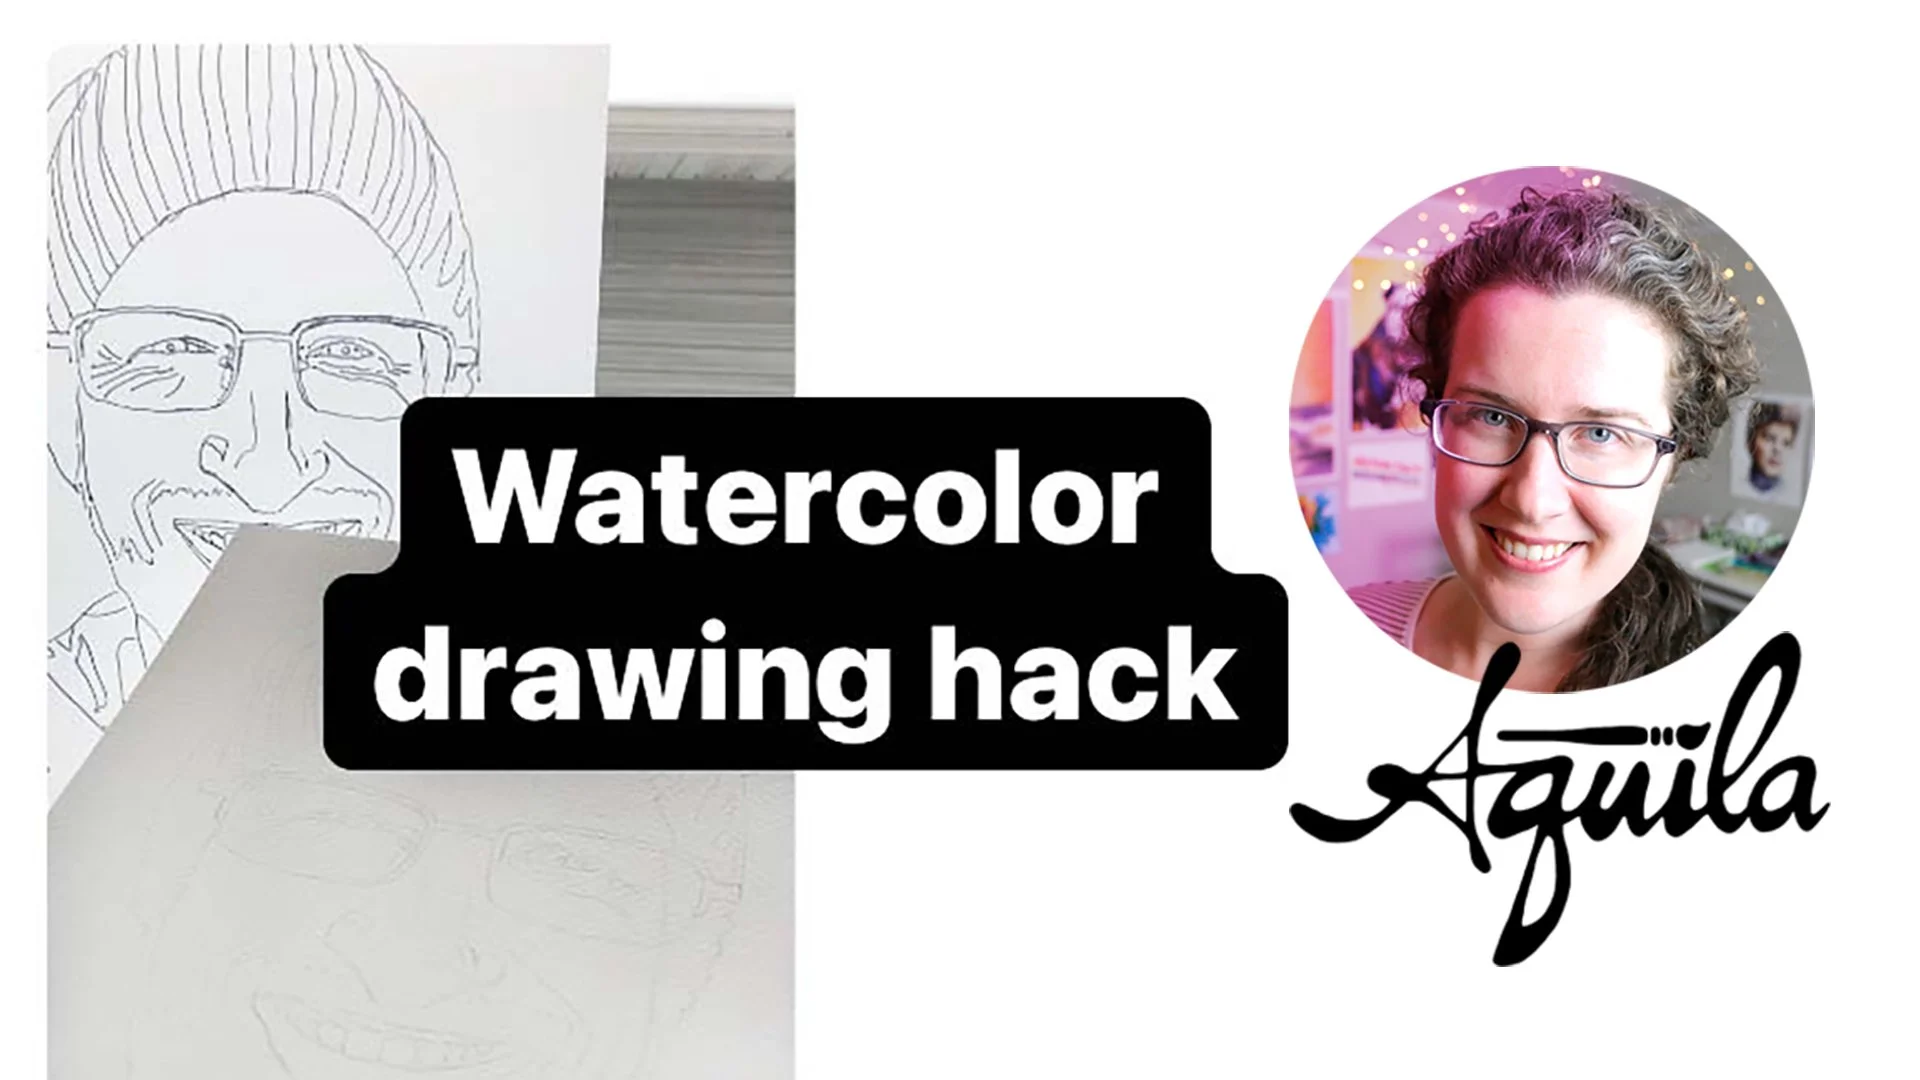
Love painting but dread drawing it out first? Try this!
Watch the quick overview video:
Supplies
Your reference image, loaded onto a screen or printed out the same size as your painting - see step one below
Artist tape (it’s different than masking tape and it holds and releases from paper wonderfully)
A fine-point sharpie or similar permanent marker
Your favorite drawing pencil
An eraser for refining your image (I love kneaded erasers)
Optional: If you are transferring a large image, you can use a projector instead of a screen/monitor. And if you need to remove permanent marker from your screen/monitor, you’ll need a dry-erase marker and some Kleenex. And if you don’t want to use the window method, you’ll also need carbon paper or a light box.
Steps
Load your image onto your screen. I use Photoshop to crop my image to the size of my painting, and also to refine composition (where everything is on the paper). Then I zoom in until the image on the screen is the same size as my finished painting will be. If you have a printed image that you are tracing from, skip step 2.
Line up your tracing paper on the screen over your image. Then trace it with a permanent marker. If you accidentally get some permanent marker on your screen, color over it with a dry-erase marker and wipe it off with a Kleenex.
Now you can use a light box or carbon paper to transfer your image onto your paper, but I like simply taping the tracing to a window during daylight. Then I tape my paper over it and trace the image onto my paper with my drawing pencil.
Now you can refine your image or add in details that you didn’t trace, and get to the fun part- painting!
What if your painting is bigger than your screen/monitor?
I’ve traced lots of really big paintings using this same method. You can still zoom in until the image on your screen is the same size as your watercolor paper. But then you’ll most likely have to tape pieces of tracing paper together to get a sheet large enough to accommodate the size of your image. Then you can transfer the image to your paper using a large window or carbon paper.
Sometimes taping lots of pieces of tracing paper together can be a bit much, so I prefer using a digital projector. I crop my image according to size and composition, then project it onto the wall in a dark room. I make sure that it isn’t skewed so the perspective is correct. Then I tape watercolor paper over the image and zoom in or out until it matches the size of the paper. Then trace away!
What if you’re painting on a panel or something else that isn’t transparent enough to use a lightbox or window?
Then simply trace the image onto your panel using carbon paper. I like this brand because it is wax-free. That means it won’t get oils on your paper that could resist the watercolor paint.
But isn’t this just cheating?
I LOVE painting, but I’m not excited about drawing. I found that the idea of having to draw out my paintings before starting to paint held me back from even starting a painting. Once I came up with this method I never looked back! It produces perfectly accurate drawings in a really short amount of time. And you can also see exactly where everything will be on the painting before you even draw/trace it out. I suppose you could see it as cheating, but I see it as a smart step that keeps me excited about painting.
However, I do think having drawing skills is important, as it helps train your eyes to understand perspective. And if you love to draw, then please draw! After all, art is unique to the artist, and I don’t want to hold you back. There are so many artists out there who draw with such a unique flair that a method like this would hold them back, instead of setting them free, so make sure to follow your artist heart.
Questions? Ideas? - contact me! Lots of my tutorial ideas come straight from other watercolor artists- so please reach out using the contact form here.