
Mount your painting to a panel: Part 1
Watch the quick overview video:
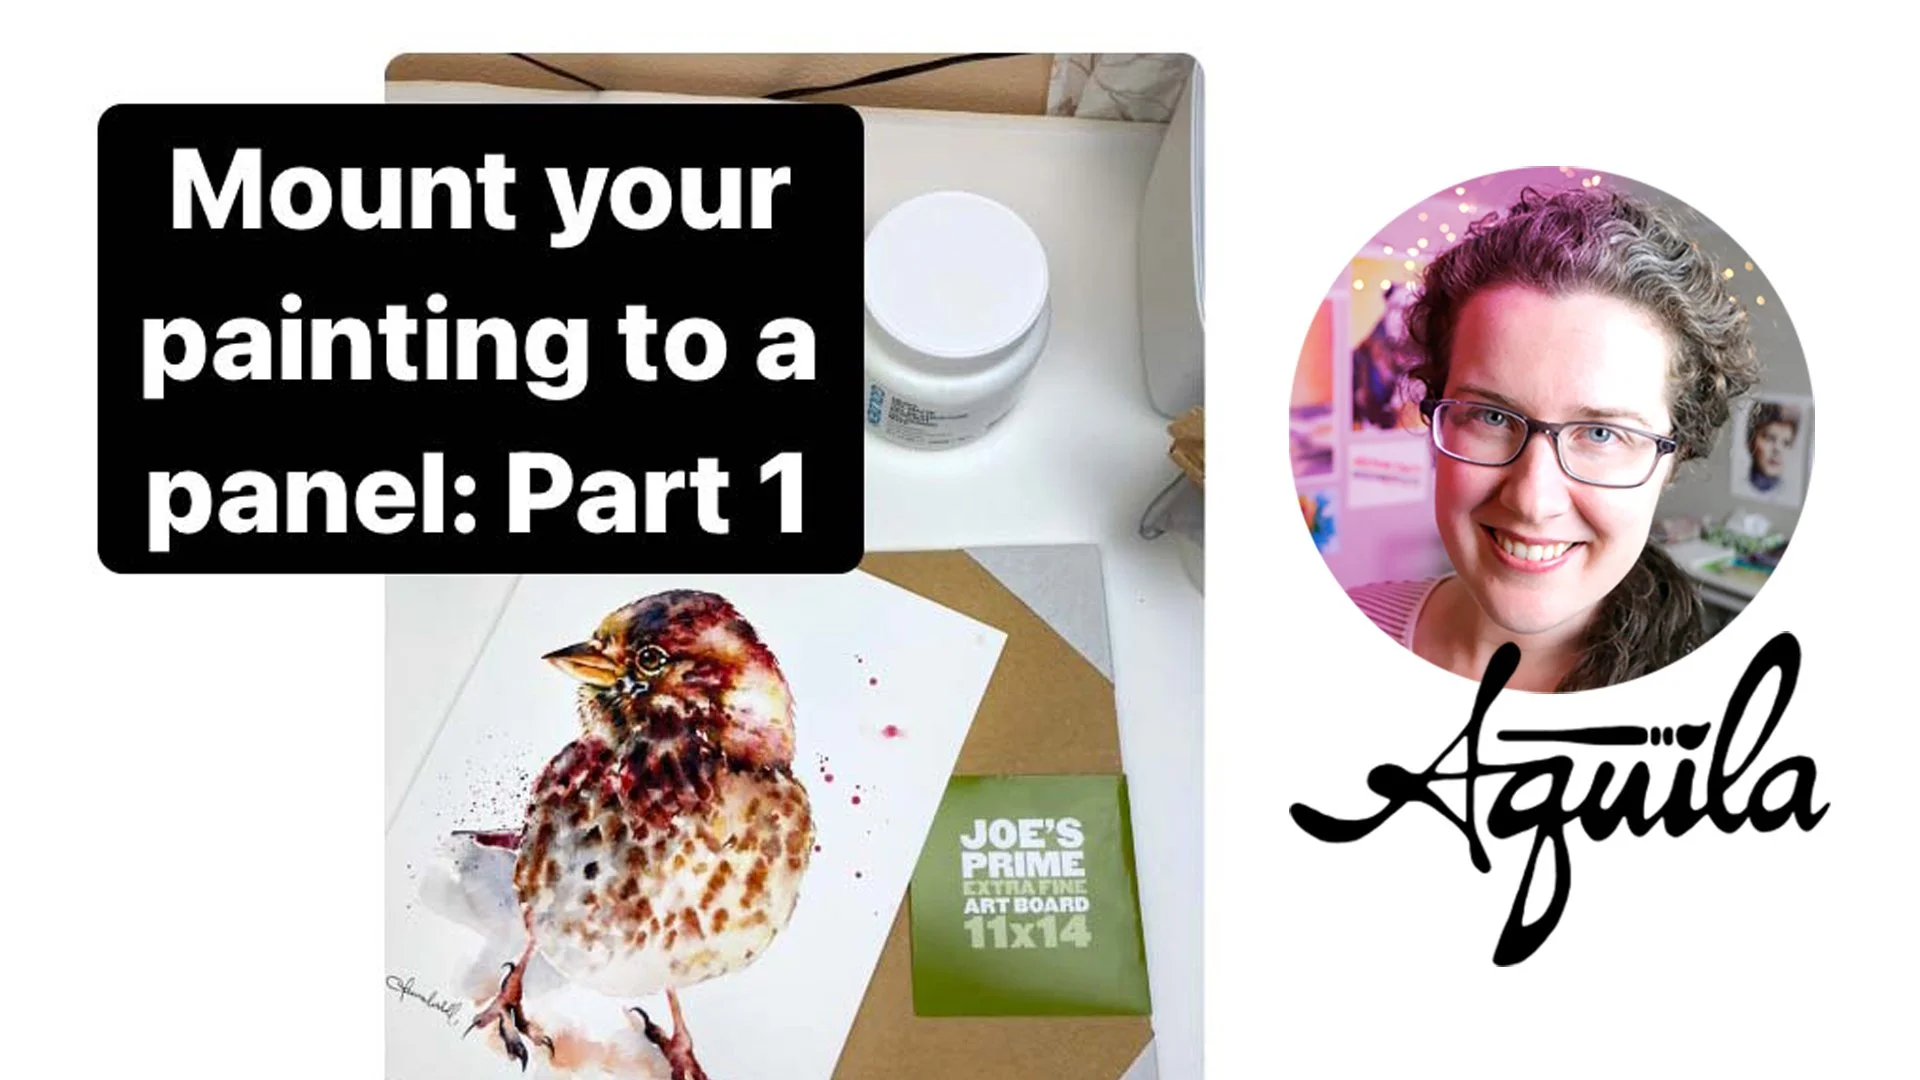
Supplies
Your finished painting- nice and dry
A panel- slightly or moderately smaller than your finished painting (see troubleshooting note below if your panel is larger than your painting). I love these panels because they have a flat (and finished!) backside, which makes it easier to evenly weigh down your panel while drying.
Golden gel medium - there are a lot of varieties of this, and I’ve tried three of them. I like Golden Heavy Gel in Matte finish the best. It has a thicker viscosity, so the paintings stick better.
You’ll also need some additional supplies for Part 2 - check out what you’ll need here
Steps
Start by preparing a flat surface for your painting to rest while it dries. I like to simply use a nice flat table, covered with a large sheet of watercolor paper. DO NOT rest your painting on something that could indent or discolor the surface, like congregated cardboard.
Apply an even layer of gel on the panel. I use my palette knife to scoop it out. You’ll see I used two big scoops of gel for my 11x14 panel. Use your ink roller to smooth it out all the way to the edges and corners.
Line up your top of your painting with the top of the panel. Some panels have hanging holes on the back so keep that in mind. Then smooth your painting onto the panel while lining up the edges. If your painting is larger than the panel you won’t have to worry about the edges as much since you’ll trim off the excess paper later.
Try to press the painting onto the panel so there are no pockets of air, bumps, or ridges. Also try not to get any of the gel onto the surface of your painting. That will cause it to stick to your resting surface.
Then place your panel, painting side down, onto your clean flat surface.
Evenly cover the entire surface, extending past the edges of your panel, with heavy things. I like to use stacks of copy paper and large books. I even have a simple box full of rocks that I pile on there!
Let your painting dry underneath the weight for at least two days.
Clean up tip - make sure to wipe the top edges of your gel jar before replacing the cover, otherwise the cover will stick to the jar and be hard to get off next time you need it! If this happens to you, try loosening it by sticking your palette knife between the lid and the jar and wiggling it a few times. That (and some muscle) usually does the trick!
Then go to PART 2 to finish your painting and get it on the wall!
Troubleshooting
Your painting is smaller than your panel - trim your painting to a size that fits onto your panel and allows it to have an even frame from the surface of the panel surrounding it - like I did with this painting here:

Then apply the gel to the back of the painting instead of the front of the panel. Line up your painting and press onto your panel. The proceed as normal.
Mounting a large painting - basically you just need everything to be bigger! A bigger panel, a bigger painting, and most importantly, a flat surface that’s large enough to lay your painting on while it’s being weighed down and drying. You don’t want any cracks or imperfections on the drying surface because it will indent your painting. I’d also recommend using plenty of gel and really smoothing out and pressing on the surface of your painting to get it as flat to the panel as possible. Start from the center and move outwards, making sure to get rid of air bubbles. I mounted this painting (36”x48”) to a panel and for the most part it worked, minus some air bubbles in the middle. They aren’t very noticeable, but once your painting is dry, there’s no way to fix it. This is a permanent mounting solution, so please use caution!

Speaking of caution - if you’re nervous to mount finished paintings, you can mount blank watercolor paper instead, using the exact same method. Then paint on it once it dries and then proceed to PART 2 to finish the painting. This way if your mount doesn’t work, you won’t have ruined a finished painting. And if it does work, you’ll have a gorgeous smooth surface (that will stay flat!) to paint on.
Let’s paint!